I'm not sure where the name 'Eli Palat' comes from and it seems likes every family has their own versions and names for this dish. At the end, when we describe the dish, we all know what we're talking about :). It is somewhat similar to Sambar (South Indian Dish) but has salted dried fish and we usually make it a bit sourer than Sambar. You can say it is a combination of
Dal and
Achin Hin. You can basically add as many or little variety of vegetables as you like but few of the ingredients are necessary for the distinct flavor of this dish. Ingredients such as salted dried fish (Ng Chaut in Burmese), eggplant and vegetable drumsticks are a must for this dish, whereas, vegetables such as okra, carrots, potatoes, winged beans, long beans, bottle gourd and white radish can also be added but will also work without them.
I have used frozen Drumsticks because fresh ones were not available at that time. Frozen ones come pre-cut, ready to use and do not need to be thawed. Drumsticks can be found in Indian grocery stores.
For a complete meal, we like to serve this with some
Red Chili Pound,
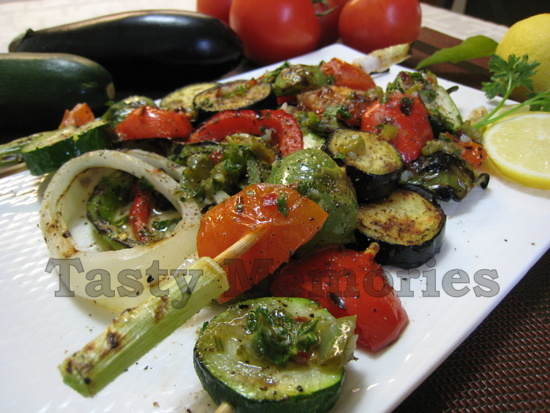
Fried chicken or
Beef, Rice and some fresh cut vegetables such as Cucumber, White Radish or Cabbage.
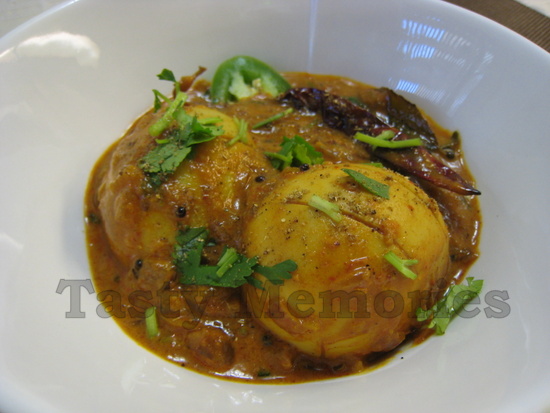
Eli Palat (Sour Dal with Salted Dry Fish and Drumsticks)
Serves: 4 to 6
Preparation Time: 15 minutes
Cooking Time: 1 hour
Ingredients:
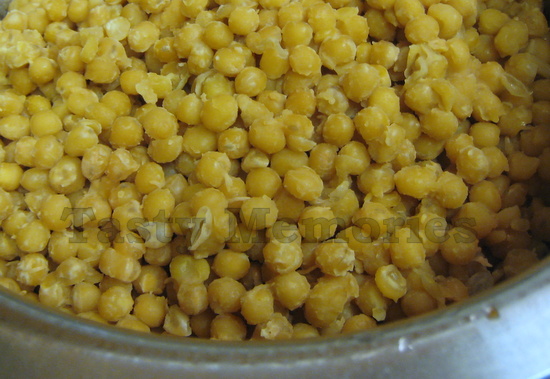
1 cup
Chana Dal/Split Black Chickpeas
Salt to taste
2 tablespoons
Oil
2 teaspoons
Cumin Seeds/Jeera
1 teaspoon
Brown Mustard Seeds/Rai
1/2 teaspoon
Fenugreek Seeds/Methi
2 cups
Onions - finely chopped
3 ounces
Salted Dried Fish
1 large stem
Curry Leaves (about 1/4 cup loosely packed)
2 cups
Tomatoes - finely chopped
1 tablespoon
Ginger - grated or finely chopped
2 tablespoons
Garlic - crushed or finely chopped
2 teaspoons
Red Chili Powder
1/4 teaspoon
Turmeric Powder
1 teaspoon
Coriander Powder
1/2 teaspoon
Cumin Powder
13 ounces
Eggplant/Brinjal - cut into 1 inch cubes
12 ounces
Vegetable Drumsticks (fresh or frozen) - if fresh scrape outer fiber layers with knife and cut into 2 1/2 inch pieces
3/4 cup
Tamarind Pulp (adjust to taste)
1
Jalapeno or Any
Green Chili - cut in chunks
1/4 cup
Cilantro - roughly chopped
1 teaspoon
Garam Masala Powder
4
Hard Boiled Eggs - shelled and cut in half
Optional Vegetables:
2 cups
Long Beans - cut into 2 inch pieces
1 small
Carrot - cut into 1 inch cubes
4
Okras/Lady Fingers - cut stem tip and cut into 2 inch pieces
*Combination of any other vegetables such as Potatoes, Winged Beans, Bottle Gourd and White Radish
Directions:
- Pressure cook Dal over medium low heat with 3 cups of water and a pinch of salt for 4 whistles or 6 minutes after cooker starts steaming.
- Turn off heat and keep aside until all pressure/steam has been released for about 10 to 15 minutes. Open cooker and stir with wire whisk to crush & smooth it out. Keep this aside.
- Meanwhile, heat oil in a large pot over high heat. Add cumin seeds, mustard seeds, fenugreek seeds and cook for few seconds until mustard seeds start to pop.
- Add onion, salted dried fish and sauté for few minutes until onion is wilted.
- Add curry leaves and stirring frequently, continue cooking until onion is lightly golden brown.
- Reduce heat to medium and add tomatoes, ginger, garlic, red chili powder, turmeric powder, coriander powder, cumin powder and stir well. Cover and cook for few minutes until tomatoes are crushed.
- Add eggplant and drumsticks along with long beans, carrots and any other vegetable (if using). If it is getting dry, add some water.
- Stir well, reduce heat to low, cover and cook for about 10 minutes or until eggplants are soft.
- Increase heat to high, add crushed Dal, tamarind pulp, and about 6 cups of water, cover and bring it to a boil
- Once it comes to a rolling boil, add Okra and salt to taste.
- Reduce heat to low and let it simmer partially covered for 15 to 20 minutes or until all vegetables soft and cooked through adding more water to adjust consistency as required.
- Garnish with Jalapeno, cilantro and garam masala powder. Turn off heat and cover the pot and leave it covered for about 5 minutes.
- When ready to serve, place couple of hard boiled egg halves in a serving bowl and pour over liquid & vegetables, and serve hot.
Note:
- To cook without pressure cooker, place Dal in a bowl and wash with few washes of water. Fill enough water to cover Dal by couple inches and let it soak for at least 4 hours. Wash one more time and transfer to a pot. Add salt and enough water to cover it by few inches. Cook uncovered over medium to low heat, stirring occasionally to make sure it is not scorching at the bottom of the pot. Cook until dal is tender adding more water as required.
- Amount of tamarind used for this dish will depend on the sourness of the tamarind itself and the amount of water used in making the pulp. Add few teaspoons at a time and adjust according to your desired sourness of the dish.
Print this recipe >>